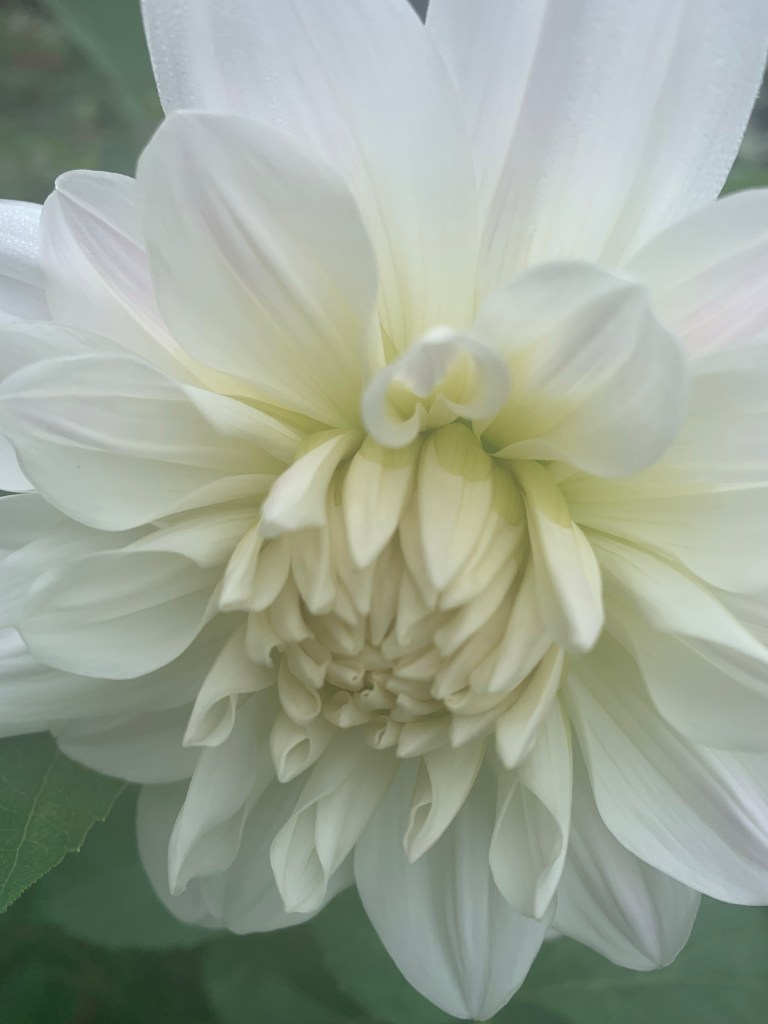
Those magnificent queens of the garden are done for the year, so as the days get colder, it’s time to dig them up.
If you’ve followed my blog posts or listened to my podcast, The Flowerpot Pen, you might have realised I’m a bit of a lazy gardener. As a result, some jobs don’t get done all the time; lifting and dividing my Dahlia tubers is one of those jobs.
In a perfect world, I’d dig them up every couple of years but that hasn’t happened, as a result, the clumps are quite full and the last season’s flowers weren’t what they could be.
*just a quick note, the photos I’m using here aren’t from my garden, they’re from a garden I work in but they’re pretty much what my Dahlias look like too.

As you can see in the picture above, Dahlia tubers can become overcrowded quite significantly in only a few years. This isn’t conducive to having large blooms and the clumps can harbour disease.
The first step to take is to cut the stems right back when the flowers have finished and they’ve mostly died off. At this stage, if you’ve divided the clumps recently (in the last couple of seasons) your job is done and you can get on to other things. If, however, you’re a gardener like me and you haven’t touched them for a few years (or more 😳) you should dig them out.
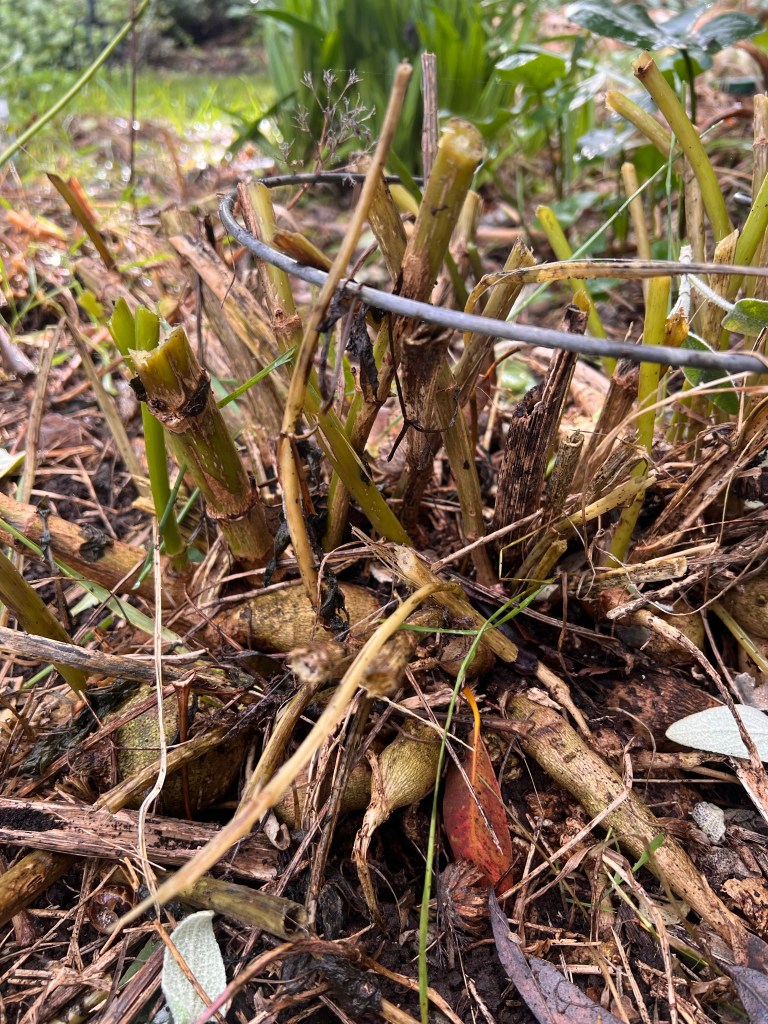
To do this the best tool to use is a garden fork. (My trusty fork has a few bent prongs so I need to be careful where it goes)
Gently push the fork downwards and under the clump as much as possible and gently lever the clump up. It will usually go down deeper than you’d think, so keep that in mind. When you’ve loosened the clump, gently pull it up out of the earth.

Now you can start the process of pulling the tangled tubers apart until you’ve broken the large clump into smaller clumps or even singular tubers. Yay!
Some tubers will be damaged, some may even show signs of rotting or fungus, just throw these ones out as they’re not likely to grow well, if at all.
The next thing to do is to decide if you’re going to just put them back in the soil or if you’re going to store them, or even give them away to share the joy. Here in my part of the world we don’t get snow so I usually just put them back in the ground.

If you decide you’re going to store them til Spring, line a cardboard box with newspaper and put them in a cool, dry place until then. Generally they will start to sprout new growth which indicates they’re ready for planting.
Planting tubers back in the ground really just requires you to place a tuber (or a small clump) into a new hole, add a bit of fertiliser if you like, or dig in some compost. I always put a stake in now so growth can be directed upwards.
And there you have it. Another early winter job done!
As an interesting side note, Dahlia tubers are one of the plants I cover in my book ‘Unexpectedly Edible: Common Garden Plants You Can Eat (If You Had To). At one time some species of Dahlia were eaten as a starchy root vegetable in their countries of origin in Sth America.
Over the years they have been hybridised so the tubers are often less palatable, but if you wanted to try eating one it’s quite possible!
If you want to find out a bit more about eating Dahlia tubers or discover some other unexpectedly edible plants, my book can be found as an ebook at Amazon and GooglePlay, or printed copies can be purchased by contacting me on my website theflowerpotpen.com
Til next time!
