Opinions on Oahu

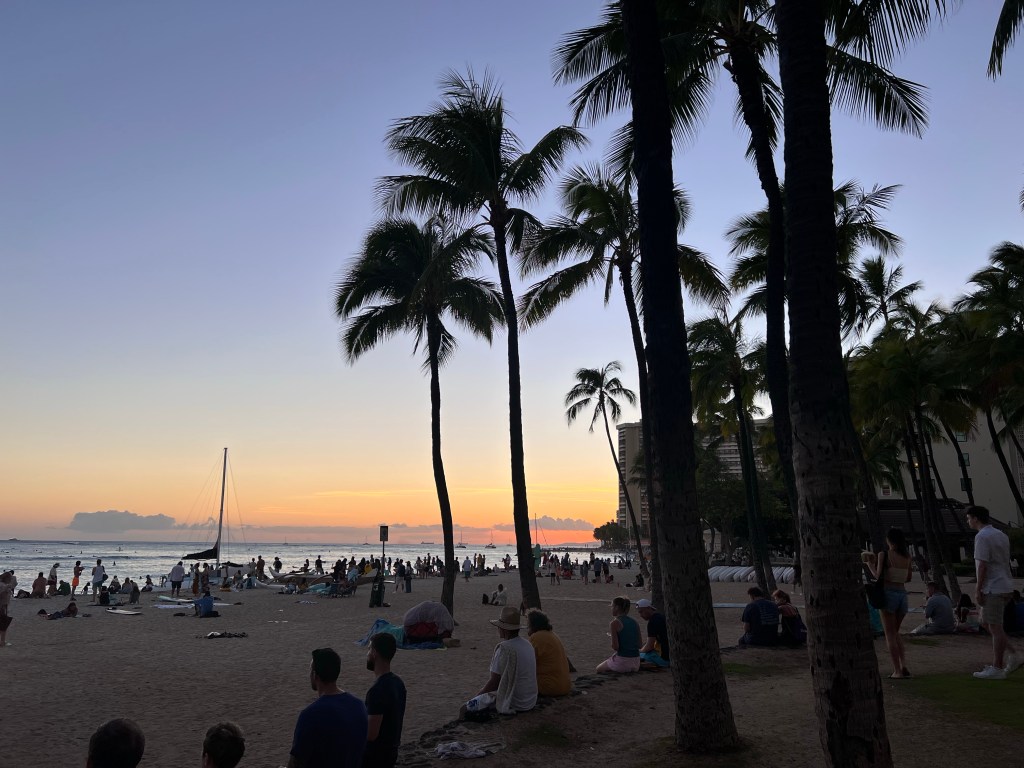
Wow. That’s probably the best and most succinct opinion I have of the beautiful island of Oahu in the US state of Hawaii.

I could wax lyrical about all of the deliciousness I could see as I had my first glimpses of this magical place, but where to start?

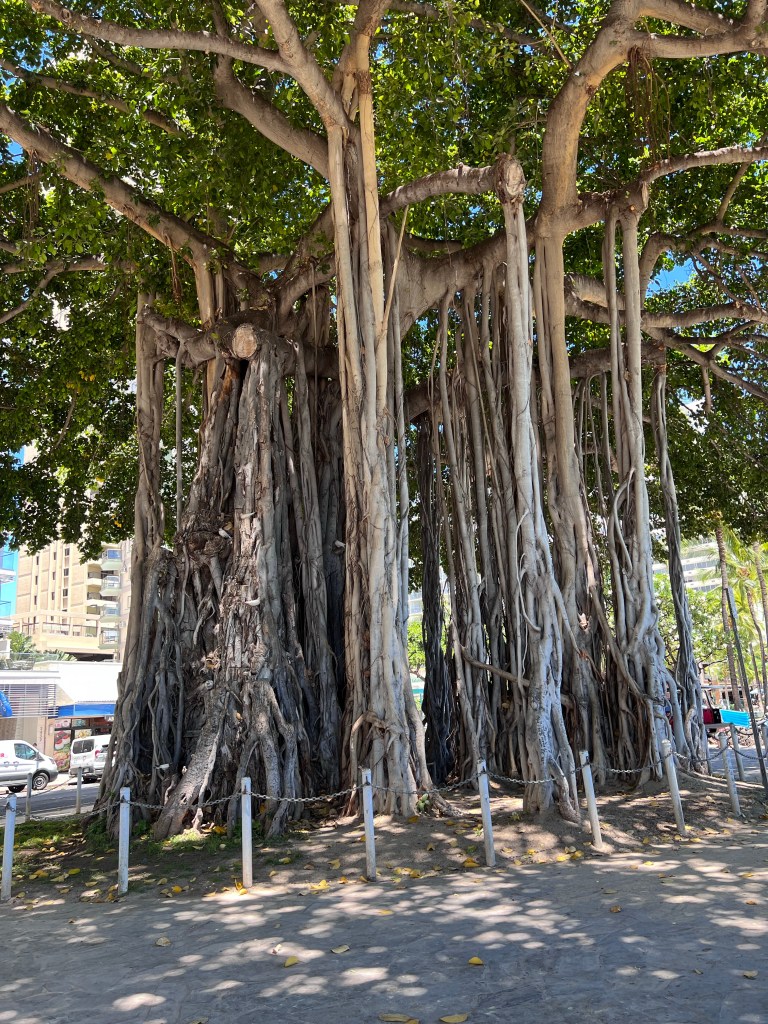
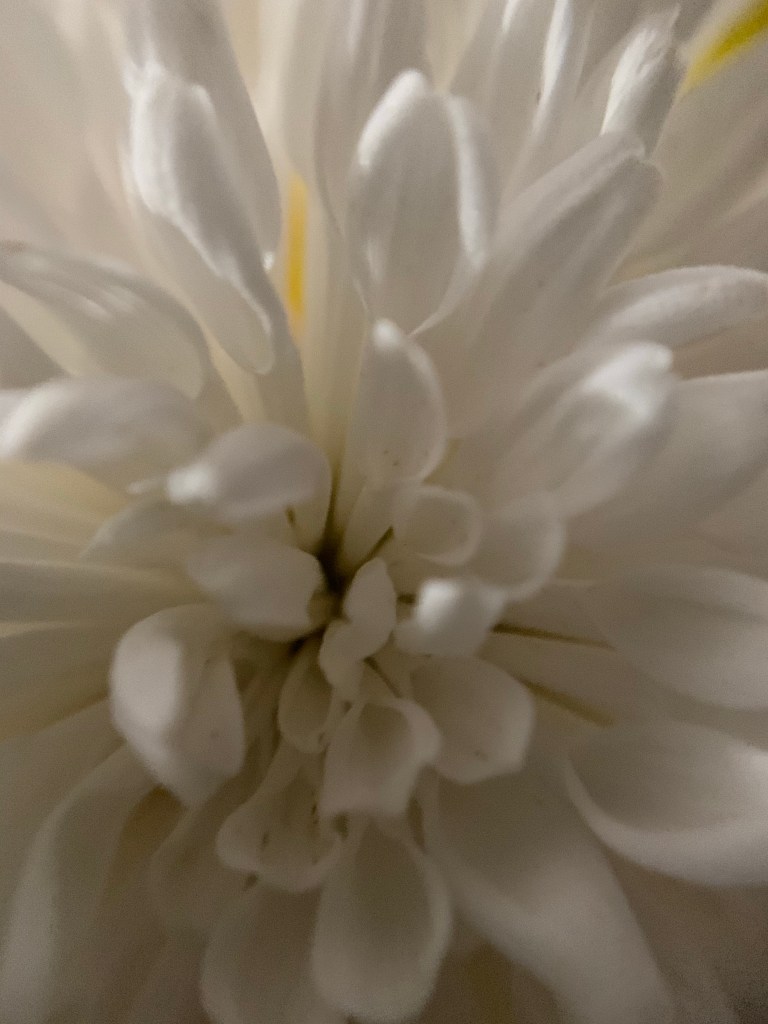
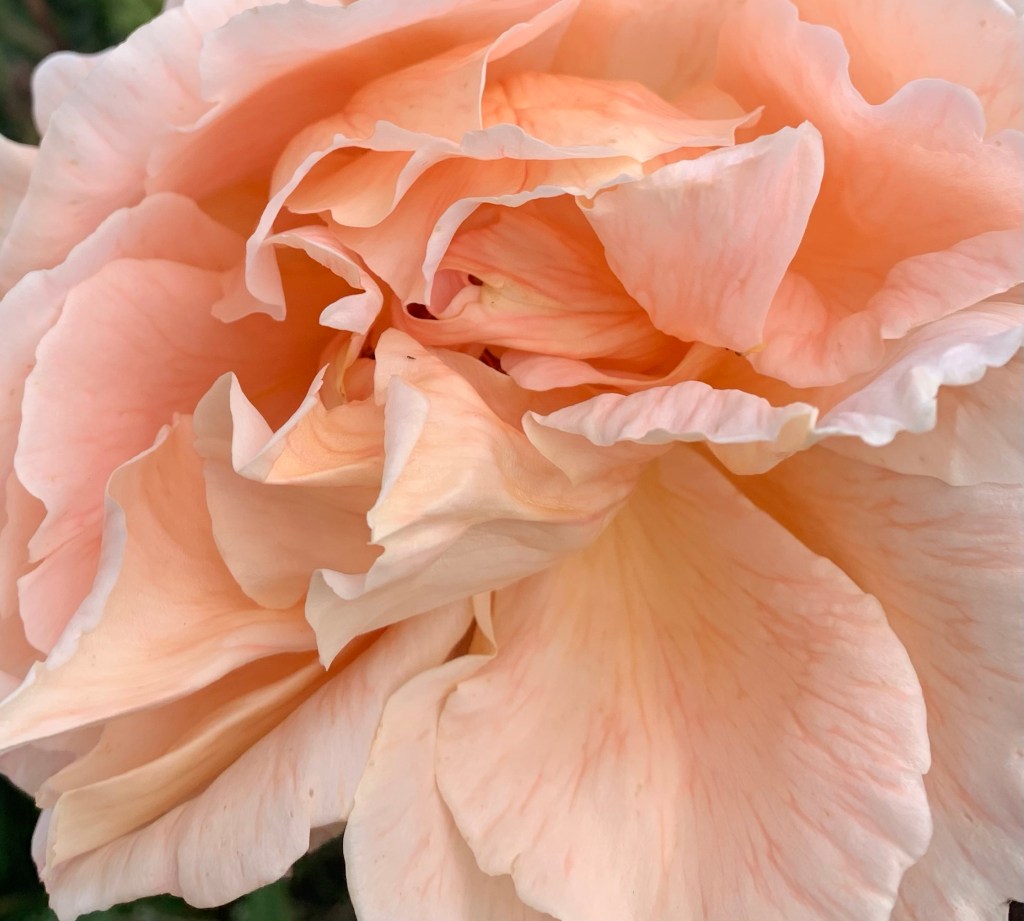
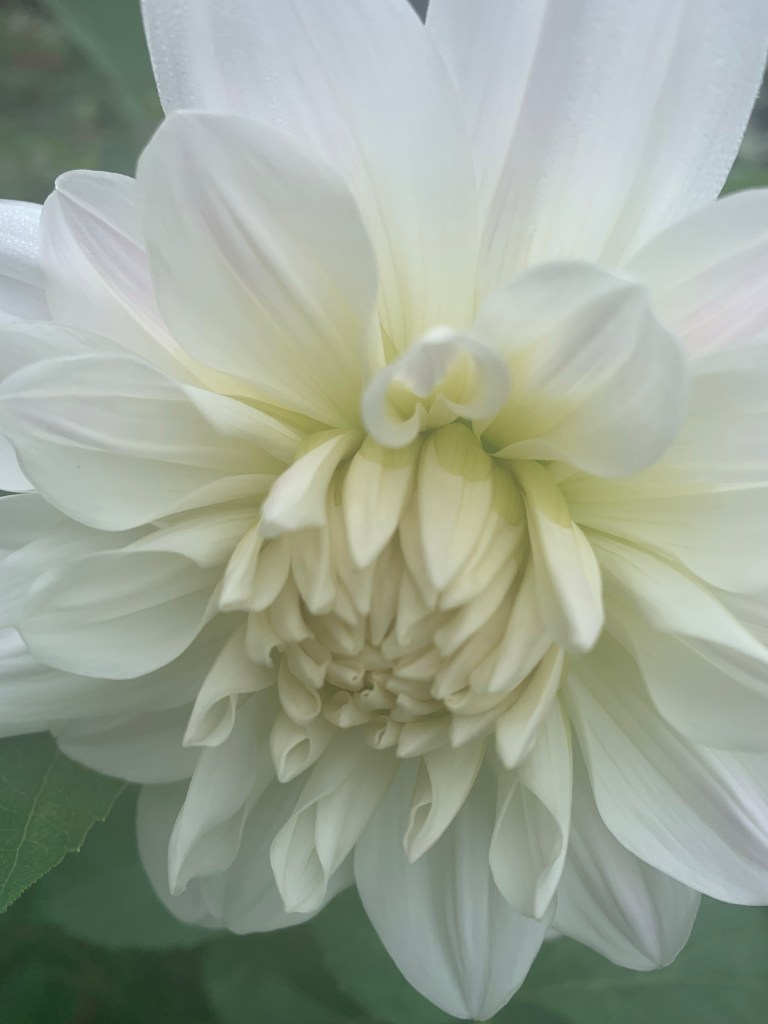
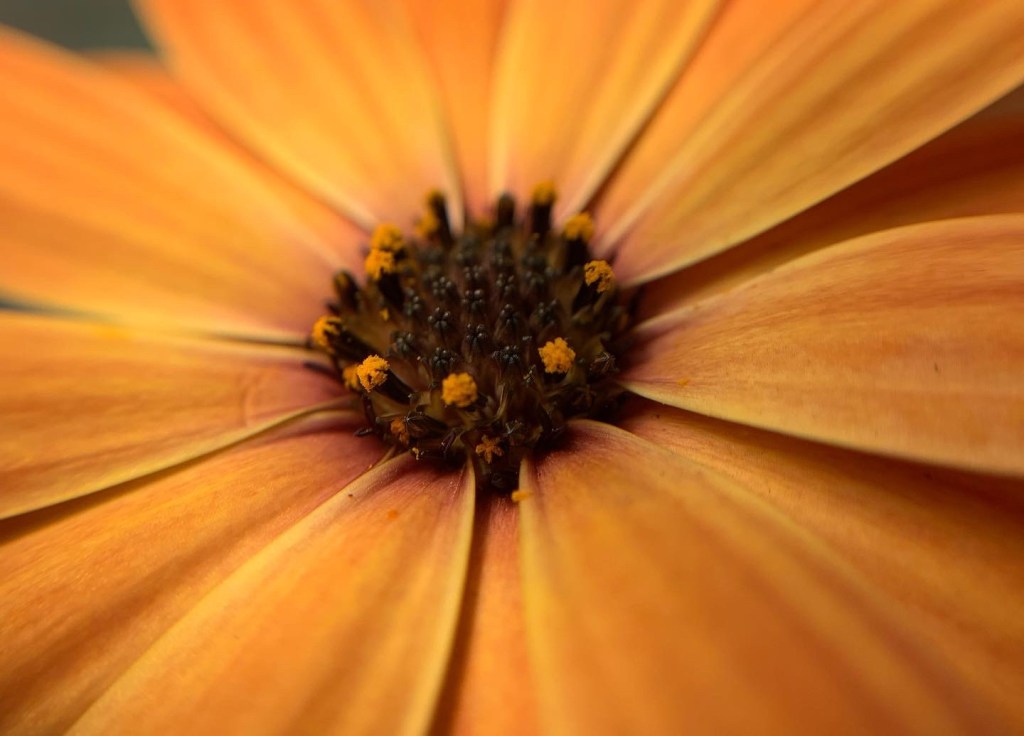
Obviously one of the most interesting things for me was the plant life (that pretty much goes without saying as far as I go) but there were so many interesting sights and sounds, it’s hard to pick a favourite thing.

Hawaiian Green Sea Turtle on sand
Living its best life on the beach

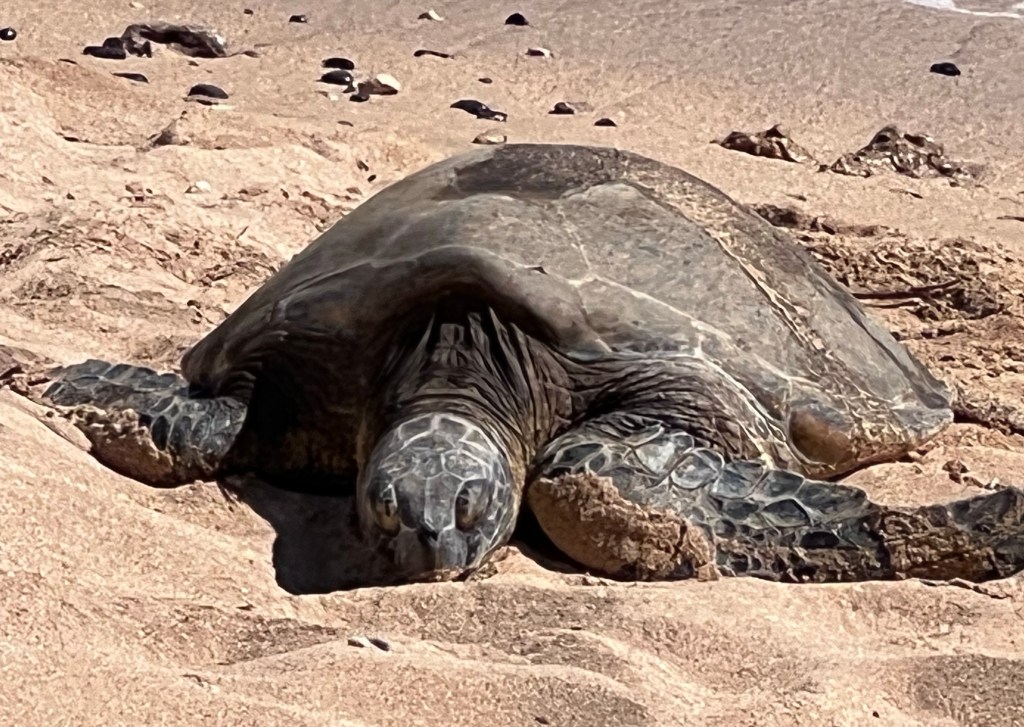
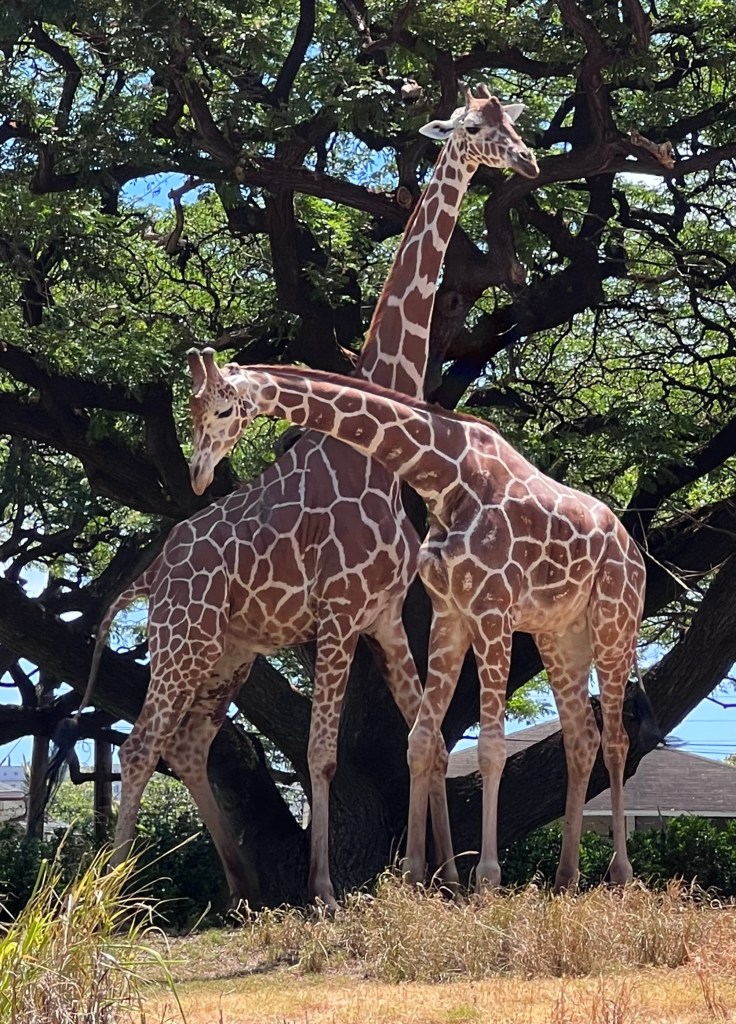
The Honolulu Zoo was extremely beautiful but it turns out the animals I particularly wanted to see are nocturnal. Not one peek at a Sloth unfortunately. The grounds were very picturesque but there were lots of garden areas that felt like they needed a bit of love. We were extremely fortunate though, we were able to see Hawaiian Green Sea Turtles in their wild state on a beach.

Two giraffes at Honolulu Zoo
Not Hawaiian, but gorgeous.

We loved the Waikiki Aquarium, the indoor displays of the vividly coloured local sea creatures was highly informative and well presented. The sea dragons and corals were particularly beautiful, unfortunately though, the Monk Seal enclosure was being renovated so we didn’t get to see them.

A seadragon in an aquarium
A Seadragon

Some of the other highlights were a quick stop at the Honolulu Museum of Art (we really needed to spend longer there, so much to see!) and a moving visit to Pearl Harbour with a trip out to the USS Arizona Memorial.

All in all, I am very pleased to have visited that magical place, I would love to go back to Hawaii and explore the other islands. A particular wish is to be able to see the lava flow of an active volcano; rather than see it locally, I’d prefer to see it in a far away place.

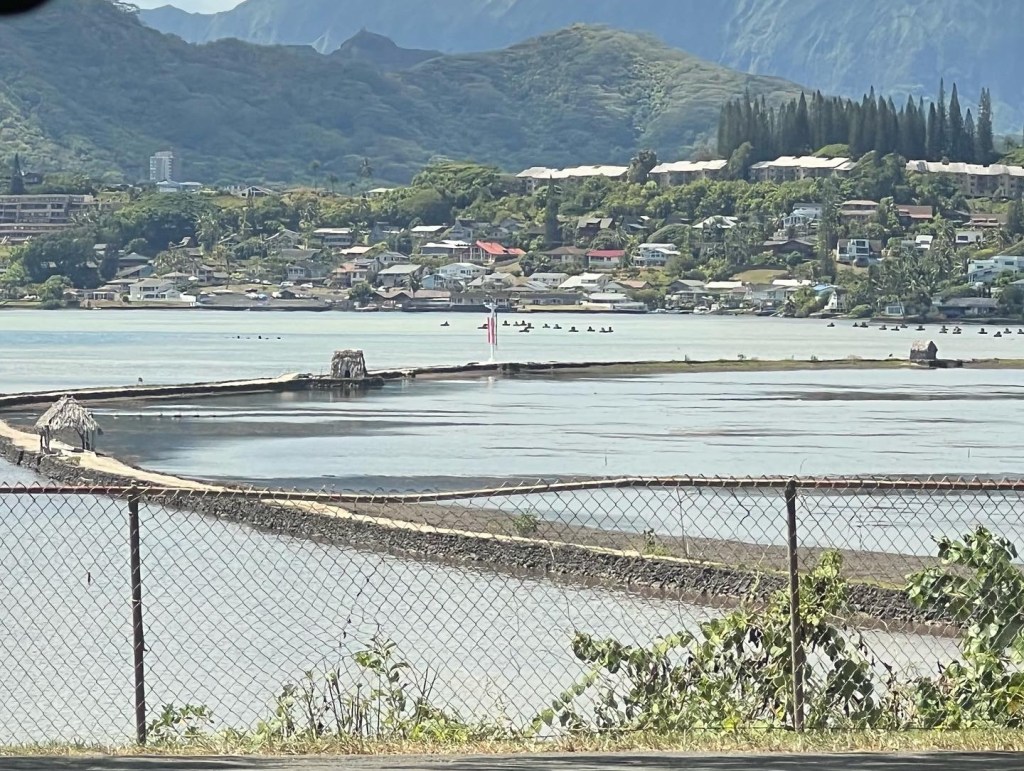
The lush mountain ranges that feature so prominently on the island and continuously draw your eyes toward them, provide a beautiful green backdrop for all the palms, trees, and shrubs, alongside man’s footprint on the island. A solid and permanent reminder of nature’s ultimate dominance over our world.

Traditional Hawaiian fish capture installation
A traditional fish ‘farm’
a hiki i ka manawa hou o Hawaii

Waikiki

I’m writing this post today from somewhere completely new to me.

I’m in Waikiki on the island of Oahu in Hawaii! I still can’t really believe I’m here!

I’ve followed the sun and landed in a crazy world of sun drenched beauty and seething humanity. This spectacular setting attracts people from all over the globe, and now I see why.

Banyan tree on Waikiki Beach

On our very first stroll along the famous Waikiki Beach this magnificent Indian Banyan tree was a visual treat. The size of the tree and the complexity of its aerial root system and trunks is a truly amazing sight.

On the drive from the airport and wandering around the streets of Waikiki there were a lot of immediately recognisable plants and trees, quite a few we grow in our much cooler climate albeit to much lesser size. Trees such as Jacarandas, Eucalypts, and of course the ubiquitous tropical sight of the Palm, along with shrubs and smaller plants like Monstera, Gold Dust Laurel, Rubber Plants, and many more.

Sunset on Waikiki Beach with Palm Trees
Palms on Waikiki Beach

I’m looking forward to seeing a whole lot more of this magical place, the scenery, the plant life, people and places. We’ve got a tour around the island coming up, a trip to the zoo and botanical gardens, so I’m expecting a lot of plants to admire. Can’t wait!

Til next time!

Frosty nights

Bbbrrrrrr!

It’s cold out there!

Frost warnings have been set for the whole of my state, my toes are cold, and the heater is having a bit of difficulty keeping the temperature even.

The last few mornings have been frosty and some plants in my garden are starting to show the signs of frost damage.

Elephant’s Ears have gone ‘mushy’, Impatiens in pots have collapsed and virtually disintegrated before my eyes.

Still, it’s to be expected. Both those plants have originated in much warmer climes so they haven’t evolved to cope with their cells filling up with water, which turns into ice, and collapsing if they thaw too quickly in early morning sun.

The term for plants not being able to cope with frosts is ‘frost tender’.

If you’re aware of any of your plants being frost tender you can either move them into a sheltered position for the duration or cover them with a sheet or even shade cloth overnight, or when a frost is expected.

The aforementioned Elephant’s Ears and a few annuals are pretty much the only things in my garden badly affected by frost, but as I know the Elephant’s Ears will grow back in Spring/Summer and the annuals are often past their best anyway, I don’t really bother too much doing anything special.

I haven’t got any photos of my frost damaged plants, that’s not really the thing to take pictures of is it? So I’ll just use one of my generic pictures of a pretty flower to add visual interest to this post.

Close up photo of a white flower
A pretty flower for visual interest

Keep warm if you’re here in Australia, and best of wishes to anybody in the Northern Hemisphere who is suffering from heat, drought, and/or fires. I feel for you x

Til next time!

Another Use For Flowers

I haven’t been doing a great deal in my garden lately. A combination of rainy days, a bout of ‘the flu’, and a general lack of motivation have kept me inside, gazing out at all the pruning to do. There’s a few more weeks before the deciduous trees and shrubs start busting out their spring leaves so I’ll have to plan a big pruning push very soon.

I have, however, had a burst of creativity and am messing about with a few creative activities.

I’ve played about with flower photography for a while now (check out my Instagram @TheStolenFlower ) and have dabbled in other things like eco-dyeing paper for book binding among other things. But one thing I had never heard of was ‘Flower Hammering’!

Paper marked with natural dyes from ‘hammered flowers’
Freshly hammered flower images

I can’t remember where I saw it first (probably on Pinterest) but I thought “this is something I have to try!”

What fun!

The process is easy, just have a solid base and place a piece of water colour paper on that base (I used a piece of thick cardboard). Gather the flowers you’re going to try and place them over the paper in an artistic fashion. 

Next, place another piece of water colour paper on top (that way you will get two pictures), then add another piece of thick cardboard on top of the whole lot.

It can pay to tape everything down so it stays in place.

Next comes the fun part!

Get yourself a hammer and start hitting your stack of cardboard, paper, and flowers all over. Make sure you get every section.

It’s a bit strange doing this to flowers, generally I like to preserve them as much as possible, but sometimes we have to sacrifice for art 🙂

When you’ve had your fill of smashing the hammer down, undo everything and slowly peel the water colour papers apart. You will find a mushed up layer of plant material so that needs to be carefully removed and discarded.

When everything has dried, you’ll find the watercolour paper has been stained by the flowers. Different flowers will give different colours, so experiment and have fun.

When everything has dried you can add your own artistic touches with whatever medium you like, to make it look how you want.

I’ll be adding the finished pictures on to my Instagram account so head on over and check it out!

Til next time!

More Roses Please!

I find this time of the year quite exciting! Apart from having a good clean up around the place, you can also use the cold days planning for the year ahead.

The best part for me is choosing which rose(s) I’m going to add to my collection!

The choice is always made easier by having local shops stocking bare rooted roses in abundance.

Close up photo of an apricot coloured rose
A gorgeous rose

I know there are a myriad of sources for roses both online and irl, but I find the selections at local supermarkets are usually reasonably priced and diverse, so I usually just go with what is there.

This year so far I’ve chosen two new plants for my garden (I’m going to have to expand the beds but, hey, that’s no kind of a problem is it?) One, ‘Loving Memory’, was chosen as a gift for my husband in memory of his mother, the other one, ‘Megan Louise’, was chosen for more practical reasons; it’s pink and I need more pink, it’s fragrant, and I need more fragrance.

Rose tags showing pictures and names.
My two choices thus far…

A long term plan I have is to grow flowers both for sale and to use as subjects for my photography addiction, these flowers will be useful for both.

The packaging will usually give very good instructions on how to plant a bare rooted roses so it’s best to follow that advice. A well planted rose can be expected to perform well for many years.

Rose plant packages showing planting instructions
The packaging will usually provide planting instructions

Long term planning before you plant any new plant is a good idea, having an idea of the long term use of your space will decrease the risk of putting plants in where they’re just going to have to be moved from. Knowing what size your new plant should be and what they will need is bare minimum knowledge before planting anything.

The main thing for roses is to ensure they will have enough space between them to allow for good airflow and to decrease the risk of diseases spreading. A good amount of sunshine and easy access for watering are also things to keep in mind.

Til next time!

Dahlia days are done.

Those magnificent queens of the garden are done for the year, so as the days get colder, it’s time to dig them up.

A white Dahlia flower
Dahlia

If you’ve followed my blog posts or listened to my podcast, The Flowerpot Pen, you might have realised I’m a bit of a lazy gardener. As a result, some jobs don’t get done all the time; lifting and dividing my Dahlia tubers is one of those jobs.

In a perfect world, I’d dig them up every couple of years but that hasn’t happened, as a result, the clumps are quite full and the last season’s flowers weren’t what they could be.

*just a quick note, the photos I’m using here aren’t from my garden, they’re from a garden I work in but they’re pretty much what my Dahlias look like too.

An overcrowded clump of Dahlia tubers
A clump of Dahlia tubers.

As you can see in the picture above, Dahlia tubers can become overcrowded quite significantly in only a few years. This isn’t conducive to having large blooms and the clumps can harbour disease.

The first step to take is to cut the stems right back when the flowers have finished and they’ve mostly died off. At this stage, if you’ve divided the clumps recently (in the last couple of seasons) your job is done and you can get on to other things. If, however, you’re a gardener like me and you haven’t touched them for a few years (or more 😳) you should dig them out.

Dahlia stems cut back after dying down.
Stems cut back.

To do this the best tool to use is a garden fork. (My trusty fork has a few bent prongs so I need to be careful where it goes)

Gently push the fork downwards and under the clump as much as possible and gently lever the clump up. It will usually go down deeper than you’d think, so keep that in mind. When you’ve loosened the clump, gently pull it up out of the earth.

A clump of Dahlia tubers uncovered.
A dug up clump.

Now you can start the process of pulling the tangled tubers apart until you’ve broken the large clump into smaller clumps or even singular tubers. Yay!

Some tubers will be damaged, some may even show signs of rotting or fungus, just throw these ones out as they’re not likely to grow well, if at all.

The next thing to do is to decide if you’re going to just put them back in the soil or if you’re going to store them, or even give them away to share the joy. Here in my part of the world we don’t get snow so I usually just put them back in the ground.

Dahlia tubers ready for replanting or storing.
Tubers ready to go back in.

If you decide you’re going to store them til Spring, line a cardboard box with newspaper and put them in a cool, dry place until then. Generally they will start to sprout new growth which indicates they’re ready for planting.

Planting tubers back in the ground really just requires you to place a tuber (or a small clump) into a new hole, add a bit of fertiliser if you like, or dig in some compost. I always put a stake in now so growth can be directed upwards.

And there you have it. Another early winter job done!

As an interesting side note, Dahlia tubers are one of the plants I cover in my book ‘Unexpectedly Edible: Common Garden Plants You Can Eat (If You Had To). At one time some species of Dahlia were eaten as a starchy root vegetable in their countries of origin in Sth America.

Over the years they have been hybridised so the tubers are often less palatable, but if you wanted to try eating one it’s quite possible!

If you want to find out a bit more about eating Dahlia tubers or discover some other unexpectedly edible plants, my book can be found as an ebook at Amazon and GooglePlay, or printed copies can be purchased by contacting me on my website theflowerpotpen.com

Til next time!

Pruning Chrysanthemums

The patchy rainfall and chilly air aren’t really conducive to getting out in the garden, but sometimes I’ve just got to bite the bullet and get out to the jobs that are screaming at me through the windows. Pruning this particular Chrysanthemum is one of those jobs.

Chrysanthemum really needs pruning
This chrysanthemum really needs cleaning up!

In my latest podcast episode I talk a little about some jobs that can be done in gardens of SouthWest Victoria at the moment. Jobs like pruning this chrysanthemum, lifting and dividing Dahlia tubers (to be covered in another blog post), and rose pruning (I’ll get in to that later in the month or even July). My podcast, The Flowerpot Pen, is available at Spotify, Apple podcasts, Anchor, and Acast; episode seven will be available soon!

Anyway, back to pruning this chrysanthemum. The Kikuyu has been running rampant so the first thing to do is get rid of as much as you can. This will let you see what’s going on.

Chrysanthemum plant needing pruning
Now you can see what’s there.

Now you can see properly, you can see the old growth at the top of the old stems and fresh, new growth at the base of the plant. All you need to do now is take your clean, sharp secateurs and cut the old stems off to just above the new growth. In episode seven of The Flowerpot Pen podcast I go into why you need to keep your tools clean and sharp.

New growth at the base of the chrysanthemum plant.
New growth at the base of the plant with bonus daffodils.

In this particular case I’ve also managed to uncover some daffodil (or Jonquil?) growth. They should grow better with a little more light. I’ve left the stake in, so as the stems grow again, they can be tied up to keep the stems straight. Leaving the stakes in also keeps me from forgetting to putting them in at a later date.

If the basal clump has become too large for its position, or if you want to share the plant around, it can be divided by gently prying off a section of the basal growth with some good root growth. Sometimes there are pieces that have grown separate to the main growth, but you can also use a sharp shovel and cut a piece off. Dividing the clump every couple of years will keep the flower growth strong and discourage diseases.

Chrysanthemum clump with new growth and good roots
A piece off the main clump ready to be transferred or given away

Chrysanthemum can suffer from both viral and fungal diseases so it’s important to make sure there’s no signs of disease if the piece is going to end up in a new garden. This plant unfortunately has suffered from Chrysanthemum Rust so I won’t be giving any of it away or selling it until I’m sure it’s ‘clean’.

Chrysanthemum Rust underneath a leaf.
Chrysanthemum Rust

The piece I have pictured above (and the original plant) that will go back in the ground will be treated with a baking soda anti fungal spray and grown on. If the rust appears on it again, I’ll know not to share it. Any pieces I’ve cut off will also need to be sent away in the rubbish, not composted and returned to the garden.

I’ve got four or five different chrysanthemums in my garden, so I’ll have to duck out between showers and get them cut down before they start to grow again!

Don’t forget to look up, and listen to, my podcast, The Flowerpot Pen, on Spotify, Apple Podcasts, Anchor, and Acast. Subscribe to it so you never miss out, and leave a review as that helps with the algorithms!

Til next time!

Nearly winter

We’re rolling in to the end of Autumn now. It’s been a big up and down roller coaster in the weather department here in the Western Districts of Victoria, Australia. We’ve had cool but gloriously sunny days and cold, grey, miserable days too. One common theme in conversations though, is we haven’t had enough rain; a few other regions in this great, vast country have had more than they need!

It’s still a little early to prune roses, they’re still pushing out late season blooms, but lots of people are starting to think of that job. I’ll hold off on it until at least mid June I think.

One plant that can be attended to now is one of my favourite plants, Sedum spectabile (Check out my blog post from 7March 2022, Autumn). It has finished flowering, and while I do love the rust coloured dead flowers, there comes a time to let them go.

Basal growth of Sedum spectabile

Cut the long stems back down to the basal growth and use this opportunity to get rid of the weed growth which all too often peskily gets right down underneath the clump. This is a good time to spilt up larger clumps and spread them out to other parts of the garden. Just dig up the whole clump, divide it by hand then replant to the same depth as what it was when you dug it up. Water it in and Bob, as they say, is your uncle.

When you’ve cut the stems off, you may have noticed some of them have growth coming off them.

Stem growth on Sedum spectabile

These will grow into new plants as well, so what I do is take some off what will be the ‘bottom’ of the stem then place the stem lengthways into a shallow ‘trough’ and back fill. Bob may be your uncle yet again.

I was wondering about the seeds, I hadn’t really bothered about it before as vegetative growth is so simple, so I googled and discovered they do indeed have seeds (of course) and it is possible to grow new plants from seed. I’m not likely to do this as I tend to be able to grow seeds then forget to water them and lose them. If you’re interested, look it up, it might be fun to try.

The tiniest flecks are the seeds!

It’s ‘burn pile’ burning time at the moment so this weekend I’ll be getting that job done, I’ve been looking forward to it for a while, so I’ll get out there now and enjoy the last of the glorious sunshine.

Til next time!

World Bee Day

May 20 is World Bee Day! Yay!

Bees are among the most important creatures we have in the world! The transfer of pollen between flowering plants leads to fertilisation and the eventual creation of a great deal of the food we eat.

Without bees to undertake this important work we, as a whole species, would be at serious risk of extinction. I don’t think there’s any mincing of words to be done on this topic.

Bee image on some fabric I have

According to the World Bee Day website (worldbeeday.org) there are 20,000 species of bees worldwide, with 2000 of them residing here in Australia. Each of these species has evolved specifically to be able to perform the function of pollination whilst becoming a part of a complex society with complex rules.

Plant species have also evolved with specific features to allow bees to pollinate them; if the plant’s specific bee species disappears, that plant species is under direct threat of extinction themselves.

Bee attracting Daisy

Planting bee attracting flowers in our gardens (some plants seem to have flowers that make bees want to travel for kilometres to get to them) will make the little critters come visiting to collect their pollen to take back to their hives to make their honey (a hugely beneficial side effect for us humans) and thus share a little of the pollen amongst the flowers. If you’re into growing vegetables then the bee pollination service is of the utmost importance to you.

Whilst bees are a major pollinator for our plant population, other critters can perform the same function, and these are just as important as bees. Some of these include species of flies, wasps, beetles, and butterflies. To me this simply means that all our creatures are important and need to be understood a little better (except maybe those nasty head lice. Could we do without them? I think we could…)

Some things that can be done to assist our little bee friends, and other pollinators, are to avoid using insecticides in the garden, plant bee friendly gardens, or even build your own native bee houses. More information about bees can be found at saveourbees.com.au or do a quick Google search to find an organisation nearer to where you live.

Finally, take a look at the Waggle dance on worldbeeday.org, make a video and upload it…go on!

Til next time!